Vacuum Workholding for Small Parts on a Custom Top Plate
· Pierson Workholding
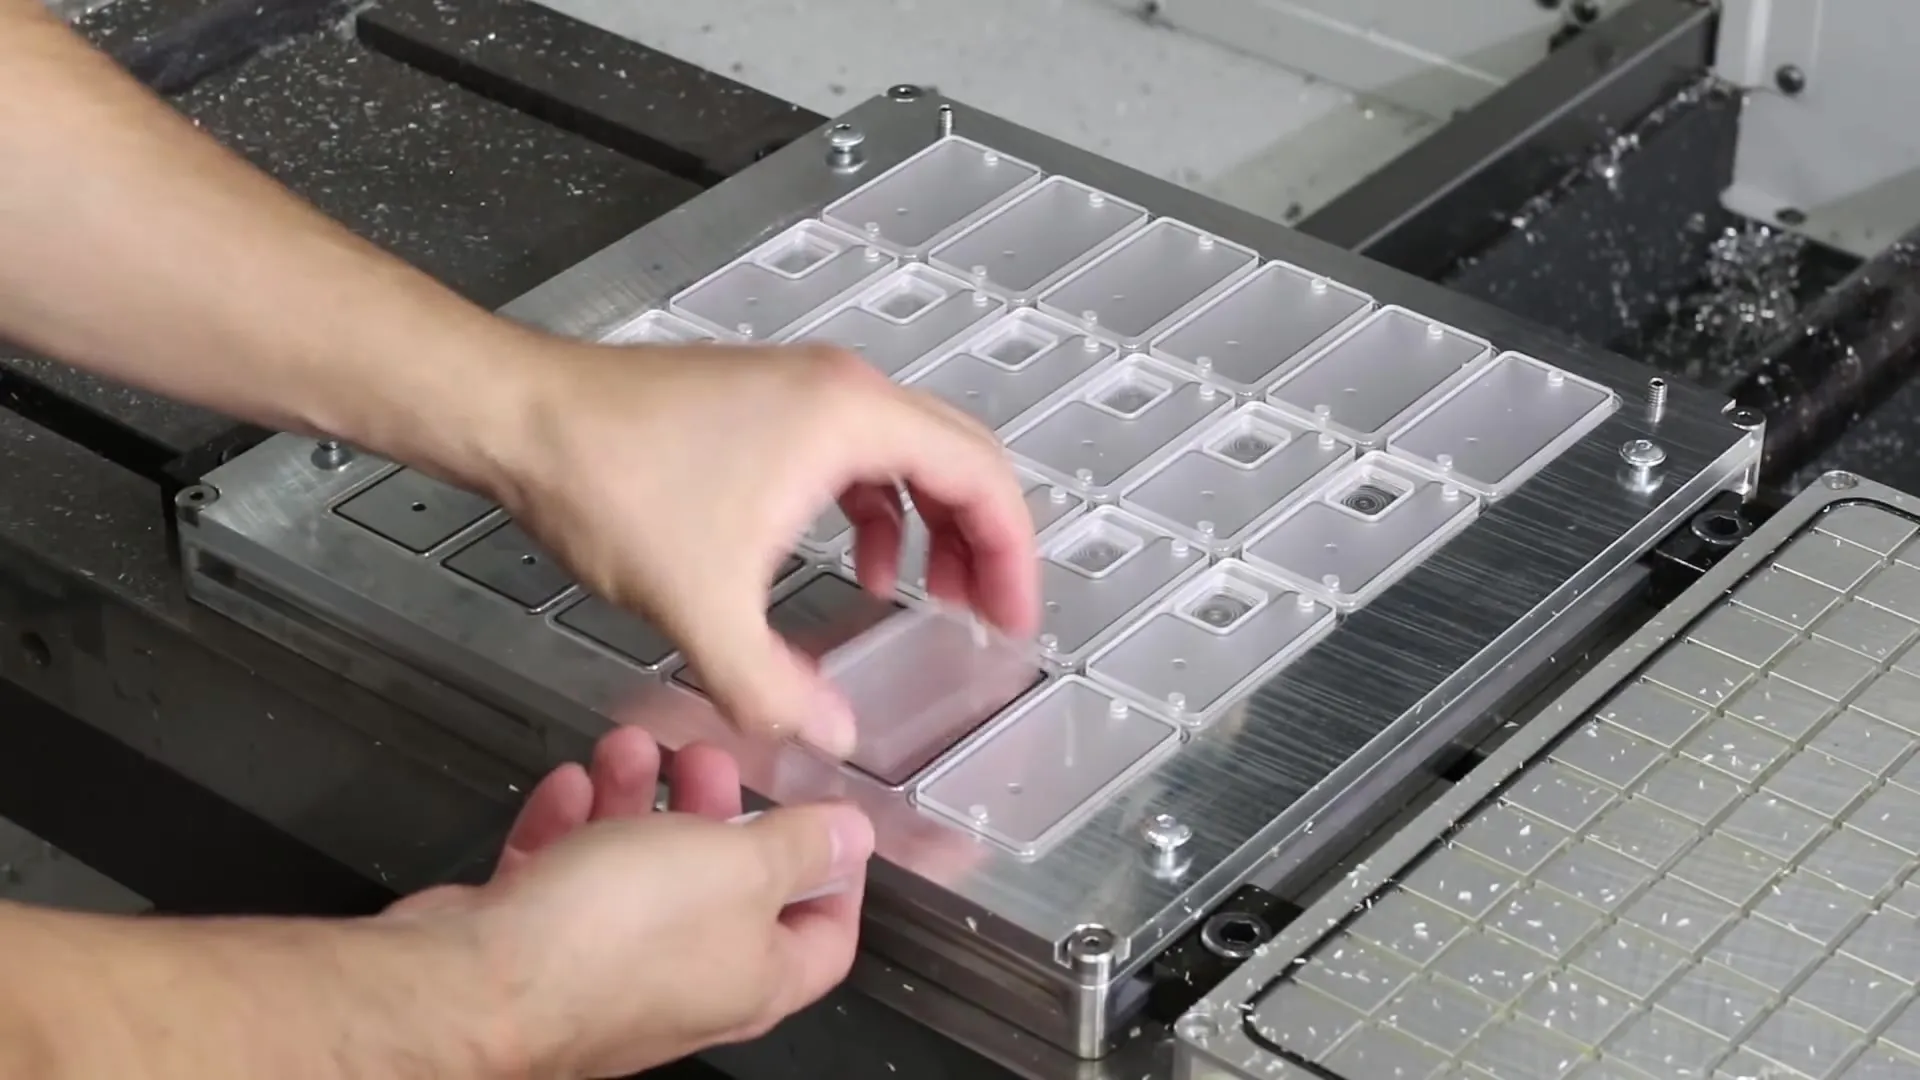
In this article we take a look at a popular video, Vacuum Workholding for Small Parts | Pierson Workholding Vacuum Chuck. We break down how we hold 24 small polycarbonate parts at once on a custom top plate, then cut them free one at a time.
The Problem We're Solving
A vacuum chuck holds large, thin sheets that a vise can't grip. More area means more holding power, so small parts leave us with less to work with.
Our job starts with two parts, a left and a right. They share the same outside profile, and only the inside features differ. Each measures roughly 2.75 inches by 1.5 inches. The customer needs 500 of each, and that count tells us a fixture built just for this job will pay for itself.
Our First Pass at the Math
Before we open the CAM, we pull up the calculator. First, we multiply 1.5 by 2.75 and get 4.125 square inches. Then we multiply by 14, the pounds of holding force per square inch on a SmartVac 3 chuck. That gives us 57.75 pounds.
A handy way to picture it is a column of air sitting on the part and reaching out to outer space. That column weighs 57.75 pounds. The air presses down to fill the vacuum, and the part is in the way.
More surface area means more holding power.
That 57.75 pounds is the best case, because it counts the whole footprint. A real gasket groove sits just inside the part edge, so the sealed area shrinks. We work backward from there to the fixture.
Designing the Top Plate
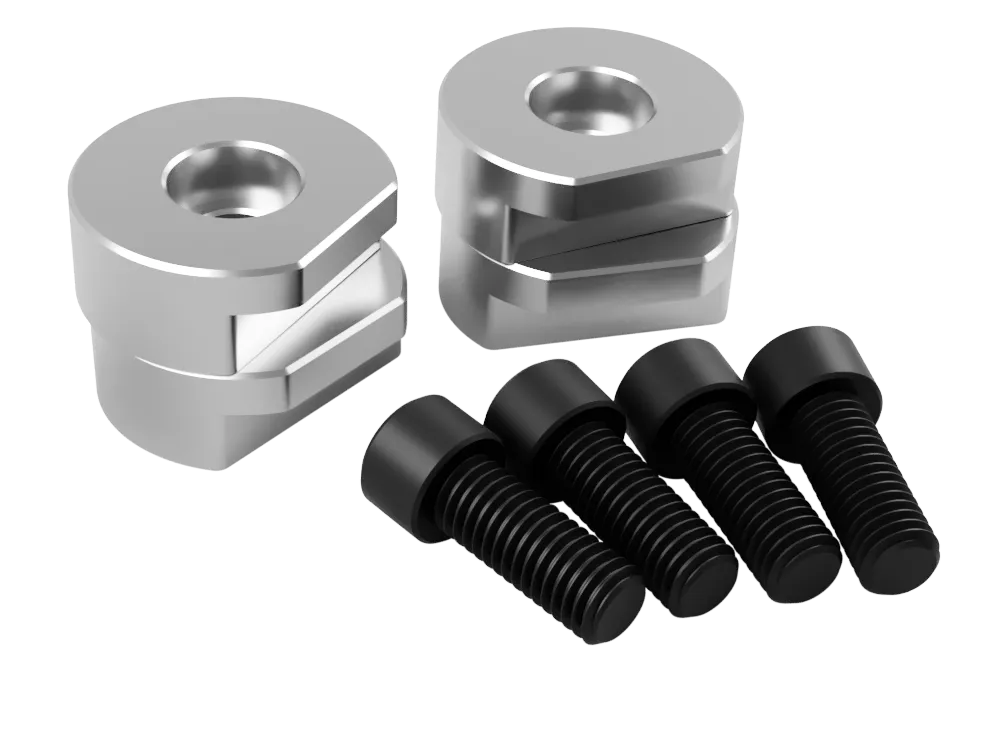
We like to picture the finished plate first and work backward from there. It is a 13.5 inch top plate that bolts onto a chuck of the same size. Each cycle holds 12 windowless parts and 12 windowed parts, 24 in all. Back-side set screws go into the plate, and four flanged screws hold the remnant material at the edges.
Those flanged screws do double duty. The 12 inch square sheet nests so tightly that a little scrap remains along the edges. With more scrap we would cut a gasket pattern to hold it. Here we are right on the edge, so the screws pin the sheet and give us a work stop.
Next we cut a gasket groove just inside each part perimeter. We choose 1/16 inch vacuum gasket for this plate, because we want every bit of area inside the pattern.
We typically recommend eighth inch, but 16th inch just gets us that little extra area, which is key in vacuum workholding.
With the thinner gasket, one part has 3.52 square inches inside its pattern. Multiplied by 14, that holds with about 49 pounds. The smaller area is almost exactly 2.5 square inches and holds with 35 pounds.
Those numbers hold the part, yet cutting forces can run well past 35 pounds. An end mill pushes a part sideways far more than it lifts. One slide breaks the seal, and the part is gone.
So we nest all 24 parts together. When we machine one, its neighbors lend their area to hold it in place.
Cutting the Nest, One Toolpath at a Time
In the CAM we see all 24 parts finished on the chuck, and we step through the toolpaths one by one. First, the cutter ramps down nearly to full depth. We leave about 0.020 inch of material at the bottom, so the parts stay tied together until the last pass.
We run only the four corner parts in this first toolpath, and the reason is support. Along a side, the cutter has material behind it and to each side, which gives it about 50% support. At an inside corner with neighbors all around, it has 100%. At an outside corner it has only 25%.
We watch the simulation as the cutter approaches each outside corner, and the thin support is easy to see. At those corners we run 6,000 rpm and 25 inches per minute with a 1/8 inch cutter. That is conservative, and we like it that way.
When working with multiple parts, you don't want to scrap an entire sheet.
Once the corners are done, we cut every remaining part the same way, again leaving 0.020 inch. These parts have neighbors on all sides, so we raise the feed to 80 inches per minute.
After that, we turn to the holes. A drill would break through inside the gasket pattern, and the vacuum would vanish. So we interpolate each hole like a bore and stop about 0.010 inch from the bottom. A quick pass by hand with a countersink clears the thin skin and leaves a clean chamfer.
Then we pocket the windows at full depth and add a radial finishing pass to hold the size. The last step repeats every roughing toolpath at full depth, ending 0.010 inch below the part for a clean break. The lightest cut always comes last.
Once you break these parts individually, they're on their own.
Once the program is ready, we head out to the shop and run it.
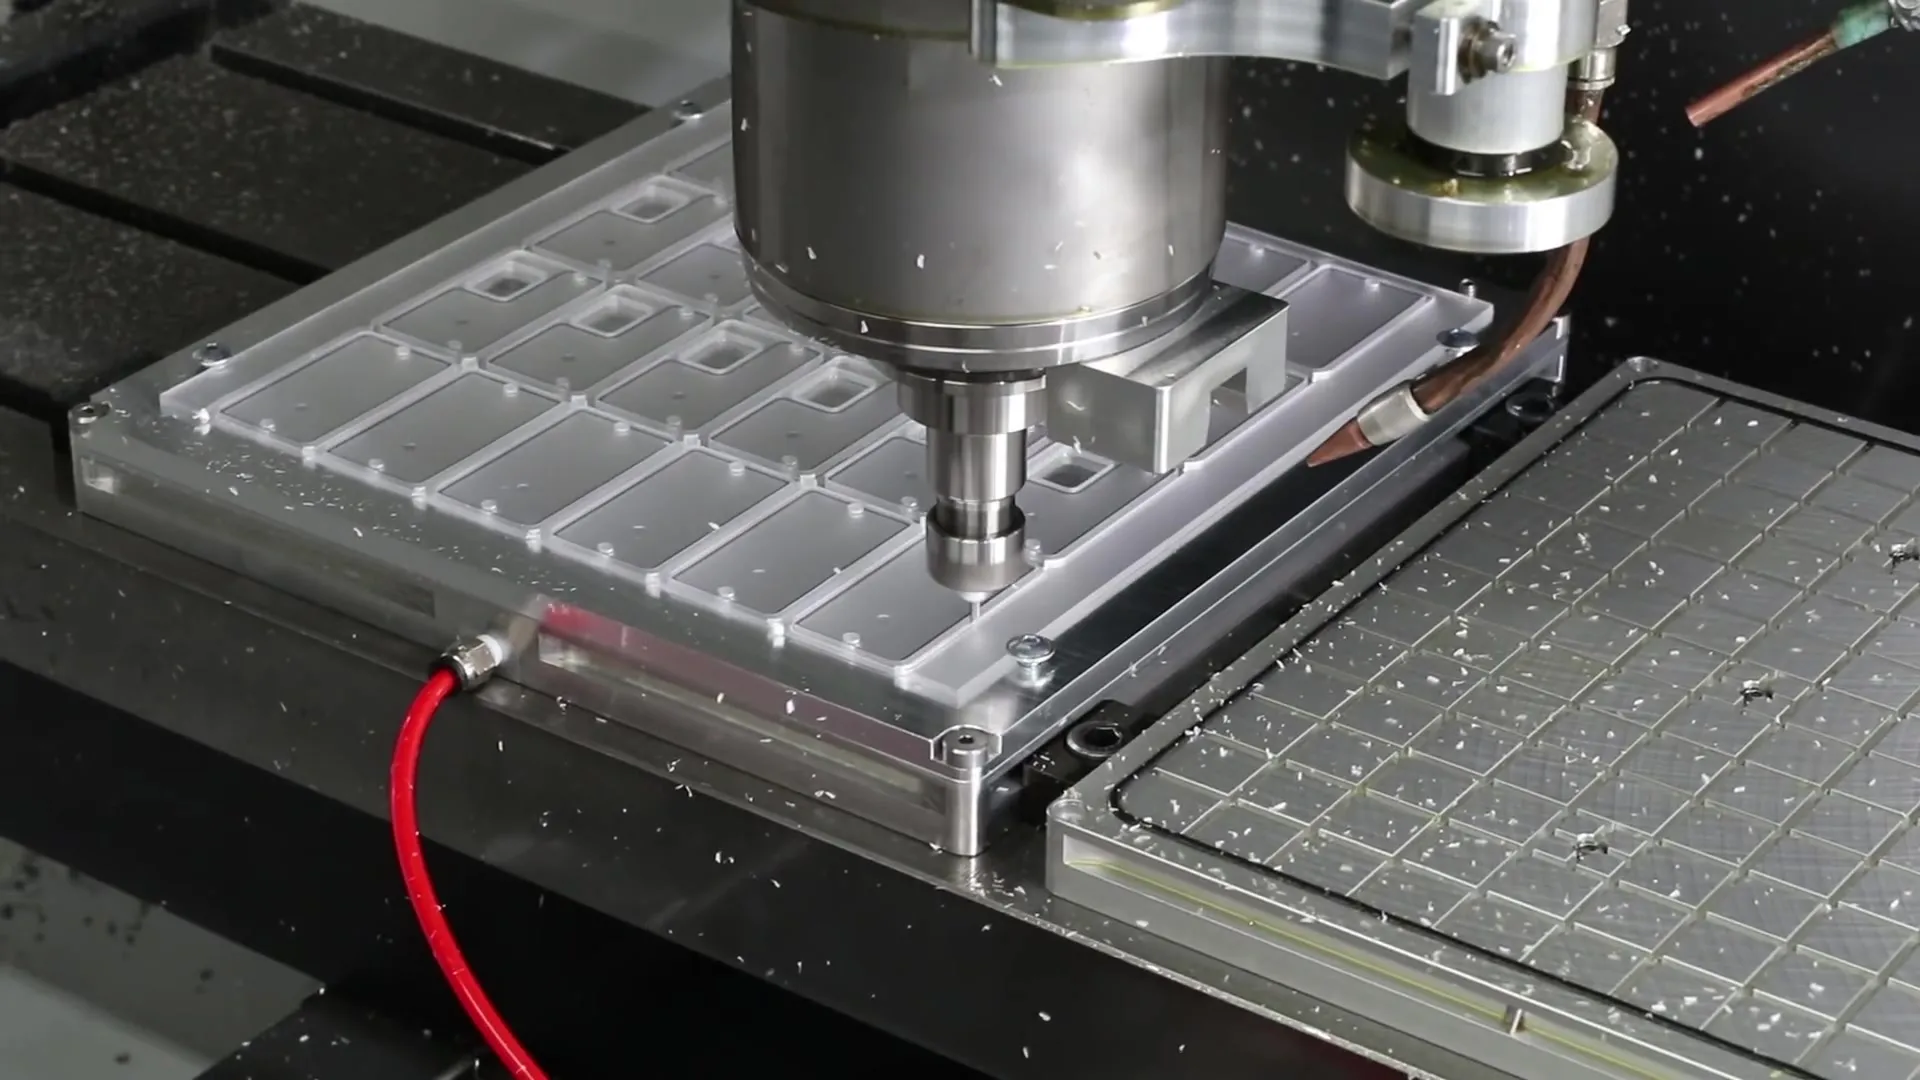
The cutter works the nested sheet while chips fly and the red vacuum line feeds the plate.
The Holding Force Arithmetic
Here is how the numbers stack up when we multiply each area by 14 pounds per square inch.
| Region | Seal area (square inch) | x 14 psi | Hold force (about) |
|---|---|---|---|
| Full part footprint | 4.125 | x 14 | 57.75 lb |
| Larger gasket area | 3.52 | x 14 | 49 lb |
| Smaller gasket area | 2.50 | x 14 | 35 lb |
The gasket costs us some area, and the nest gives much of it back. Each part borrows hold from its neighbors until the final pass.
Where This Approach Works Best
This approach fits a long run with a repeating shape, like our 500 of each part. The top plate pays for itself when the cycle count is high. Tight seal area calls for thin gasket, and nested pockets keep every part supported until we free it.
The same ideas carry over to other small parts on a SmartVac 3 chuck. Count the sealed area, plan the toolpath order around support, and save the lightest cut for last.
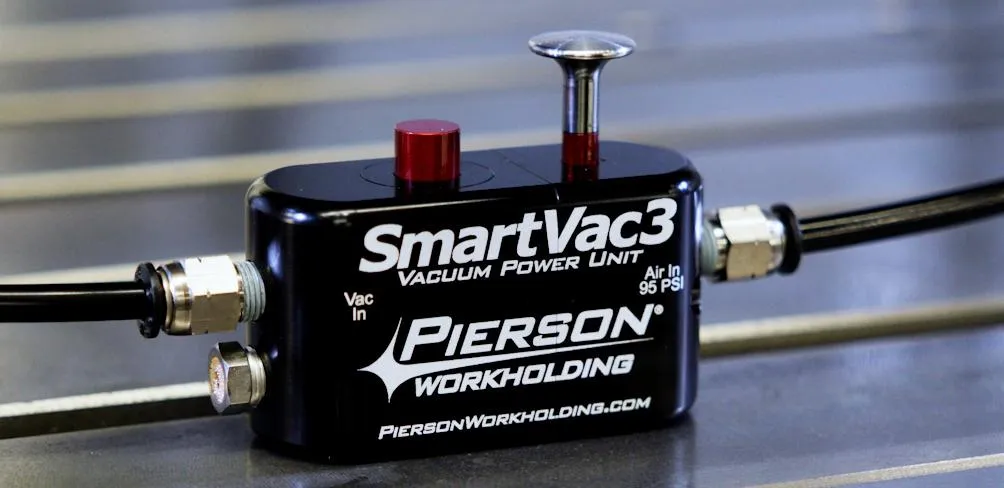
Every plate gets its hold from a vacuum power unit that runs on compressed air. In our SmartVac 3 system, that job falls to the Vacuum Power Unit.
The SmartVac 3 Vacuum Power Unit, with a red button and plunger on top and Air In 95 PSI engraved on the body.
What We Learned
We started with a simple multiplication and a rough answer of 57.75 pounds. The gasket pattern brought that down to 49 and 35 pounds, and the cutting forces made those numbers feel small. Nesting the parts and ordering the toolpaths closed the gap.
The takeaway for your shop is to let neighboring parts help hold each other. Work out the area inside your gasket, and cut the corners slowly because they have the least support. Finish with the lightest pass so each part leaves the plate cleanly. A thinner gasket can also add area where you need it, and a SmartVac 3 top plate lets you try it on your own part.
Products in This Article
Vacuum chuck
SmartVac 3
Easily holds materials with large surface areas and thin profiles that a vise just can’t handle.
View system
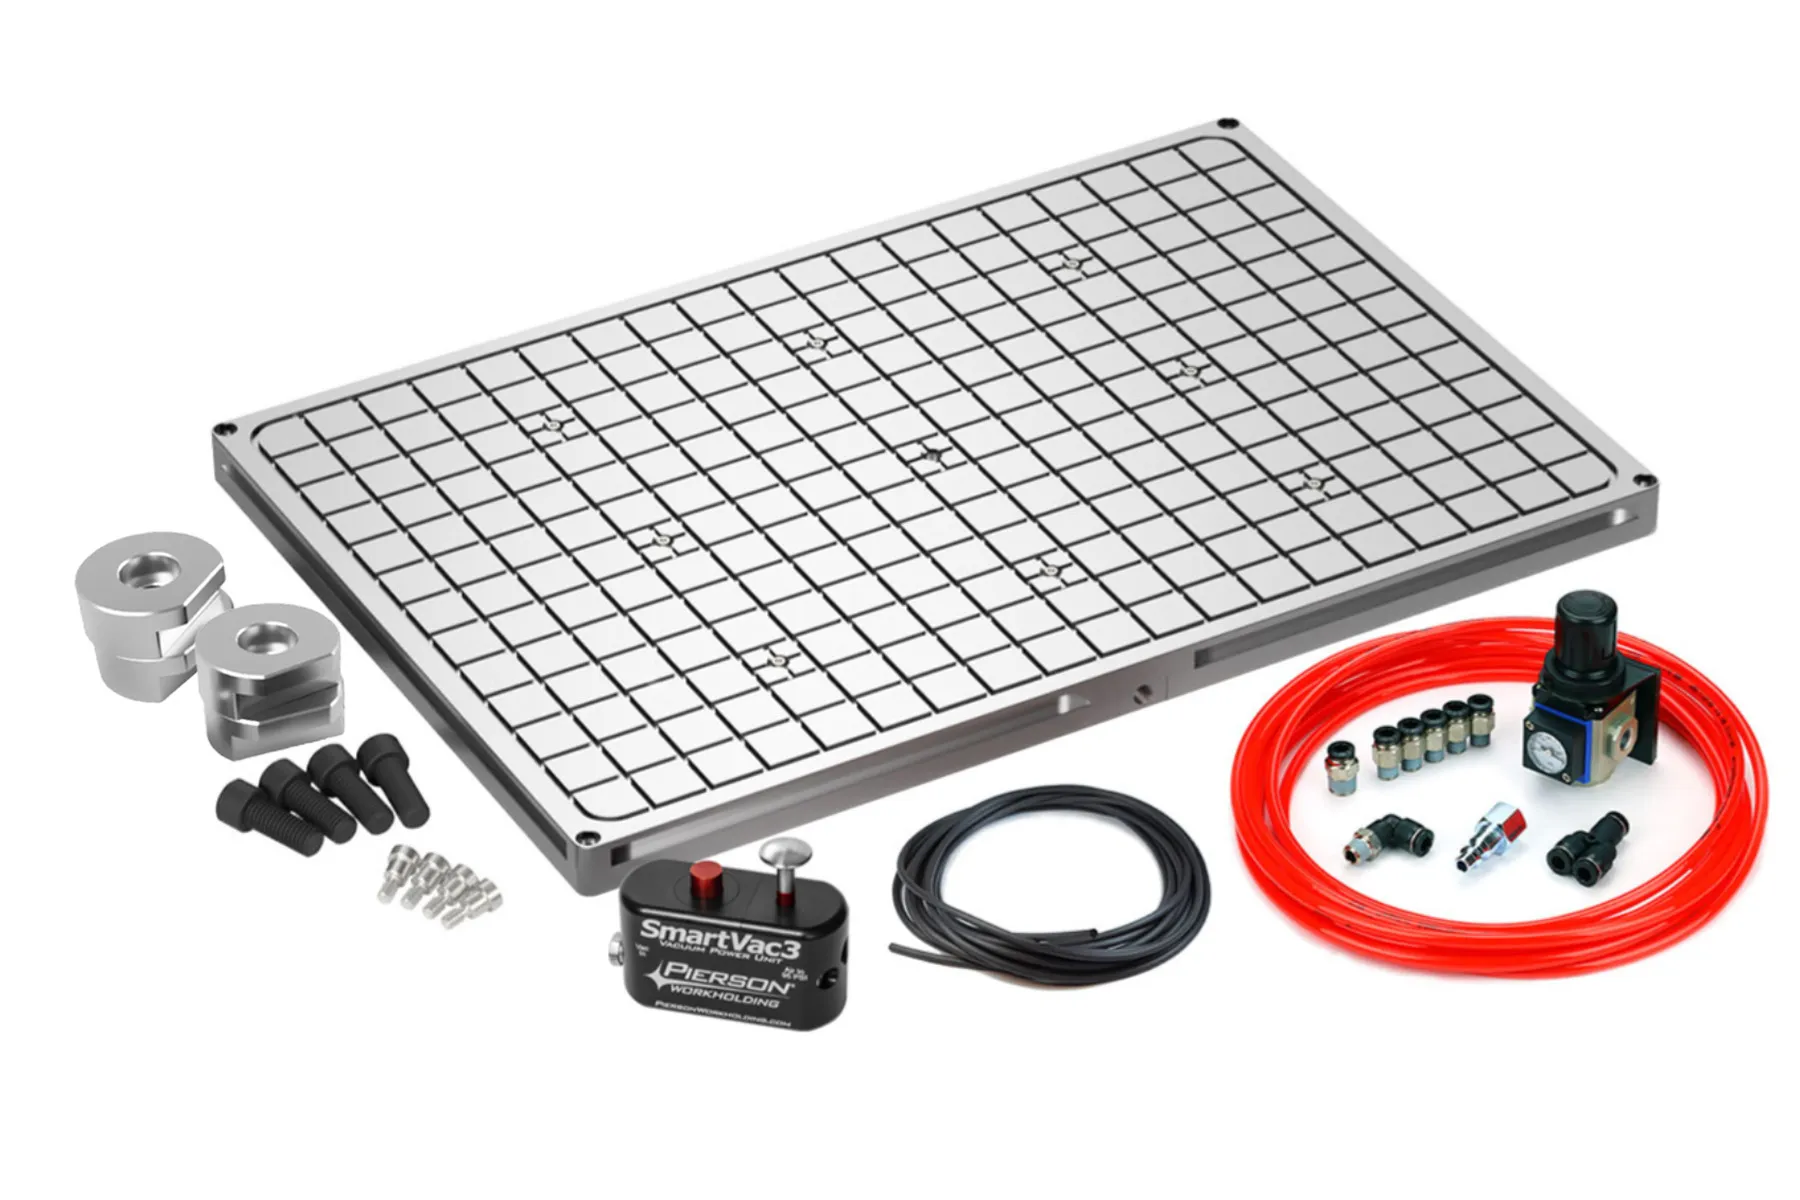
Hardware, clamps and gaskets
Accessories
Fittings, hardware, tooling and consumables for your Pierson Workholding Systems.
Shop accessories